
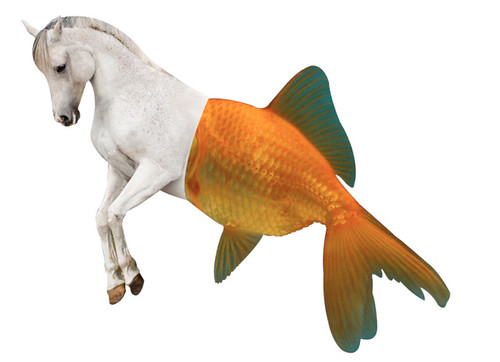
This is the finishing product of all the work below :)
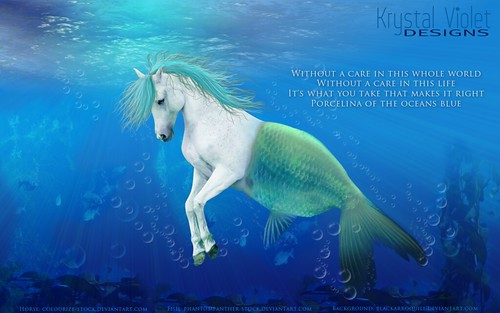
"OCEAN"
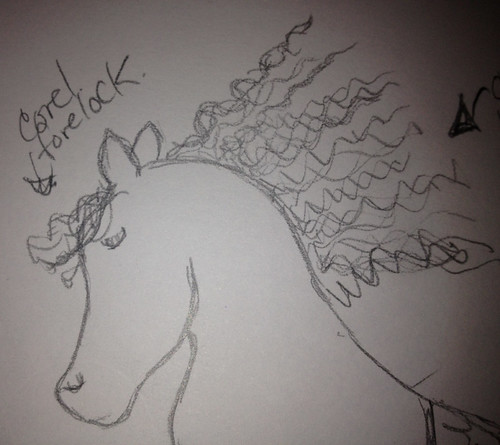
The first thumbnail preview
To further explain this, basically this is the "idea" for the head. It will be a full horse head, however the mane and forelock will be coral (underwater weeds). The horse head will look pretty basic to a normal horse, however the colouring will be different (I will explain colouring below).
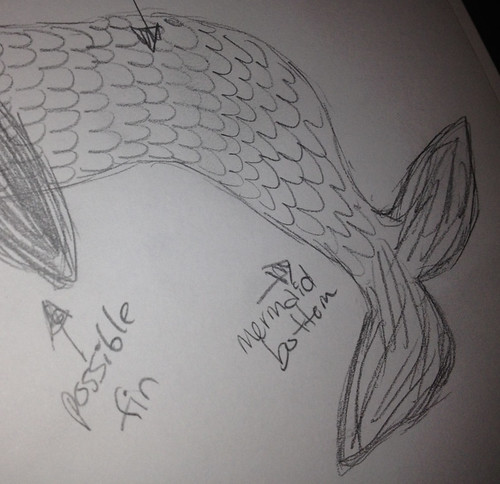
The second thumbnail preview
The second example shows how the second half of the "Merhorse" lol will look. Although it will look a lot better than the sketches, the second half will have scales and fins. More fish like. I will match the fish half with the horses colours. I do believe the scales will have to shine and really stand out. I want it to really focus on that part.
The third thumbnail preview
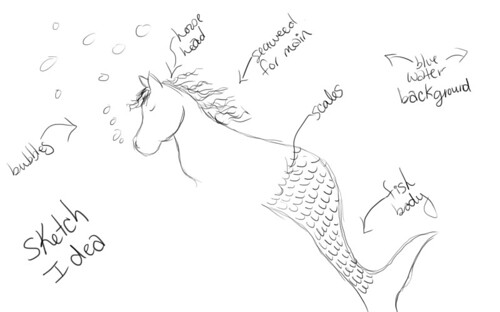
For this example, I have shown the horse as a whole. The front (which is slightly scary due to it being thumbnails) is to show that the horse will still have 2 front legs. So the horses complete front end will be there, and the fish complete back end. I will also be adding small bubbles around the Merhorse because it will be in the ocean swimming and I want it to really show an effect of that.
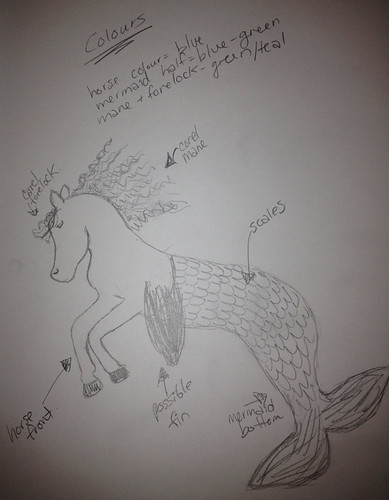
The fourth thumbnail preview
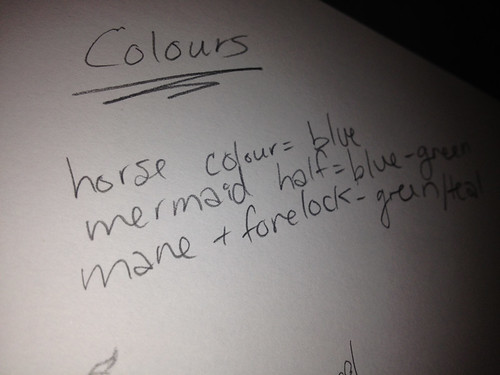
This is not really a thumbnail, however I was trying to come up with some colour ideas. The water that the horse will be swimming in, will be an aqua. I wanted the whole photo to somewhat flow. So I was thinking possibly a different type of blue for the horse and that blue would slowly turn into a greenish colour by the time it gets to the last fin. Then the mane and forelock would be green like coral. The shine on the fins might be somewhat yellow and then bubble blue with white glows.
The fifth thumbnail preview
For the fifth part, I made my own thumbnail ideas with my tablet in photoshop. Might seem a little extreme, but I always like to make a quick sketch in photoshop before I start doing the real fun stuff. I did not need to make the horses front feet in this one because this helped me enough. I did draw some bubble examples here as well.
Step: #1
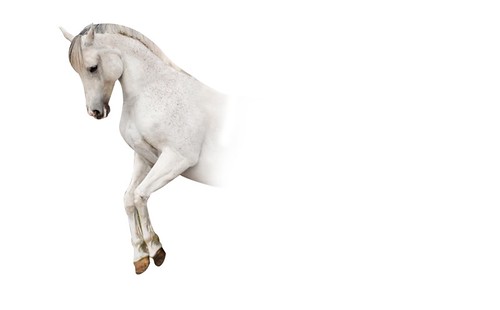
This step was simply looking for a stock photo of a horse. You have to choose the right looking horse. If you do not, the whole photo will look a little silly. I have access to many people who have taken amazing photos of horses and I like to use their photos as I have for many years. Once I found the photo, I put a path around it, masked it and feathered some of the end a bit so that it will fit with my other photo.
Step: #2
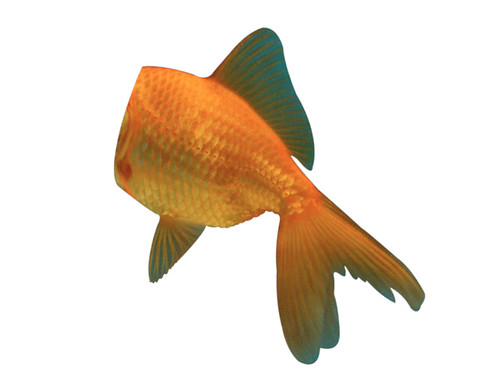
Step two is the same process as step 1 but with a fish!
Step: #3
This step was putting the horse and the fish together and making them one.
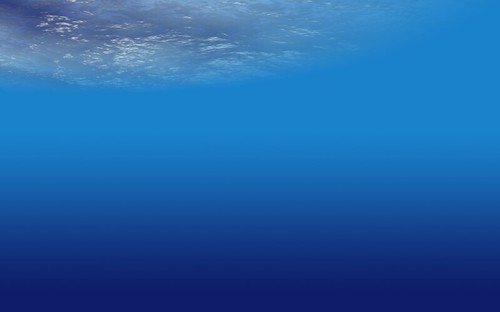
Step: #4
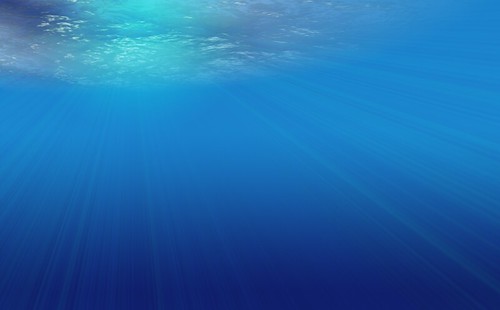
This is the start of the background process. The background I wanted to actually BE the ocean. I wanted a view from inside. This step was a simple gradient.

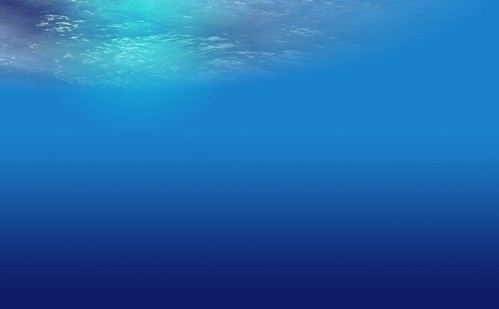
Step: #5
This was a view from inside looking at the top of the ocean. This was used with cloud effect, warp tool, and plastic wrap.
Step: #6
This was adding some simple lighting like as if it is daylight outside and shining through. I used another gradient for this as well but circular.
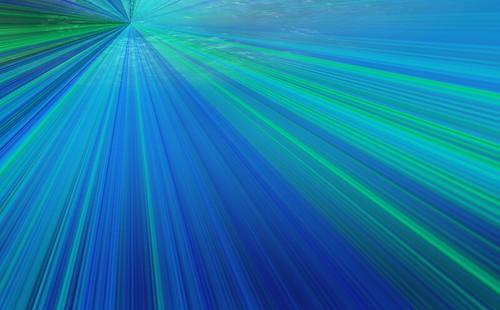
Step: #7
This step was once again using a gradient. A different technique this time though and not smooth but this time it has noise. This is to eventually make light flare in the water.
Step: #8
I set the light to screen and then lowered the opacity. Now it looks real.
Step: #9
This step I re-added the horse/fish to the photo and changed the colours up a bit to match a tiny bit more. I like to work with bright colours at times and maybe do more adjusting later to the colouring. In this case, I do end up changing a lot as time goes by. I then added some stock photos of fish/seaweed to the bottom and through out so it does not look so bare and boring. The photos were real photos so I changed the mode and lowered the opacity and did some erasing here and there.

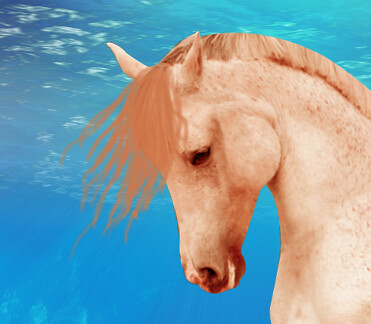
Step: #10
This is the start of my forelock and mane process. I think in the future I will make not only a video but a detailed tutorial on how I do it because many people ask. This is just the under layer of a base colour for it. I use my tablet and make sure the brush settings are so that is has the correct pressure so that the tips of the hair start to fade.
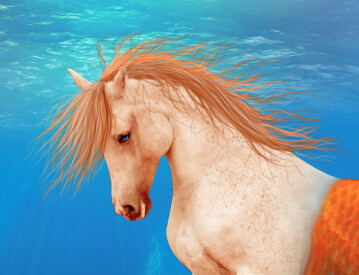
Step: #11
Once the bottom layer of hair is done, you need to add highlights and shadows. Hair would look silly if it was just one base colour. So I adjust my brush settings on and off and then slowly brush them in. I wanted to make them wavy and all over the place because of the water. So I did that. After I brush in all of the strands one by one, then I adjust some of the strands with dodge and burn to adjust darkening and lighting of the mane. Also I changed the eye so that it pops a little more by re-drawing it.
Step: #12
I took a look at my designs and then realized the colouring was just not what I wanted. After a few tests, I decided everything should match. I believe this colour is a lot better and I was happy with that.
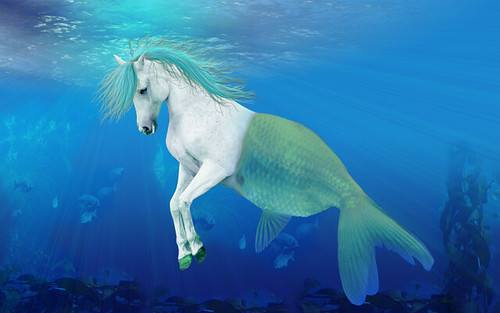
Step: #13
I liked the colouring and everything else. There was just some other small touches. I wanted to add some highlights to the scales on the fish have, lines to the fins, lower the green on the hoofs, adjust the horses mouth and add bubbles!! I made the bubble brush and added them where I saw fit. I adjust sizes etc so it looked more real. I also added my logo for my designs, the links to the amazing stock providers because I usually do since I feel they deserve it and lyrics to an amazing song that inspired me by The Smashing Pumpkins. Every time I do a manipulation (for myself), I like to add lyrics or a saying on the photo to something that inspired me at that current time. :)
I really hope you enjoyed my piece. I loved doing it and my next walk through will be another illustration Friday piece!! I think it is so inspiring.
No comments:
Post a Comment